Follow Me On Social Media!
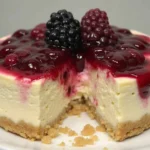
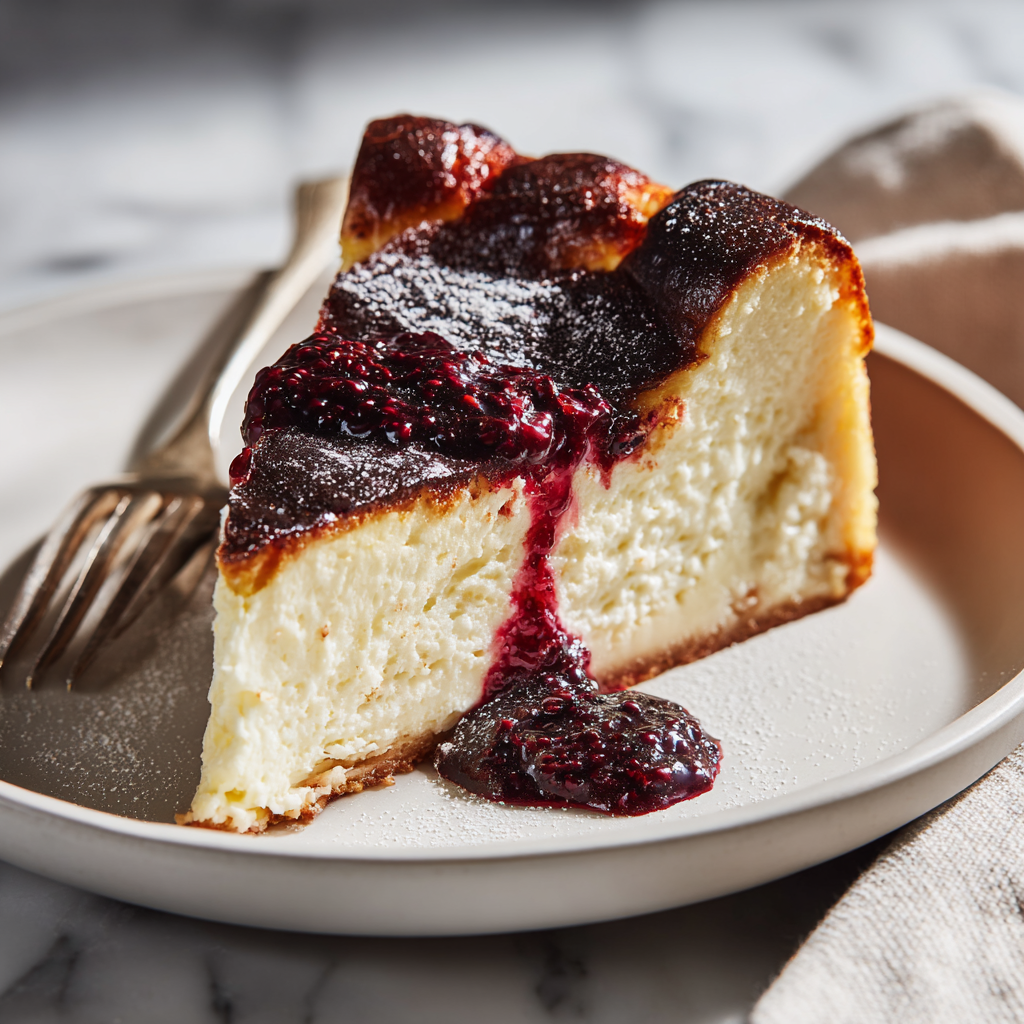
The Magic of Imperfection: Master the Burnt Basque Cheesecake
Why is the World’s Most “Ruined” Cake Actually the Highest Rated?
Did you know that search interest for “untraditional desserts” has spiked by over 140% in the last three years? It sounds like a baker’s nightmare: a cake that is intentionally scorched on the outside, has no crust, and looks sunken in the middle. Yet, the Burnt Basque Cheesecake (or Tarta de Queso) has become a global phenomenon, challenging the long-held belief that a cheesecake must be pale, pristine, and perfectly level.
Originating from La Viña in San Sebastián, Spain, this recipe breaks every traditional rule of baking. There is no water bath, no graham cracker crust, and no fear of high heat. Within the first few bites, you’ll realize that the “burnt” exterior provides a bittersweet, caramel-like complexity that perfectly balances the ultra-creamy, custard-like interior.
Ingredients List for Your Burnt Basque Cheesecake
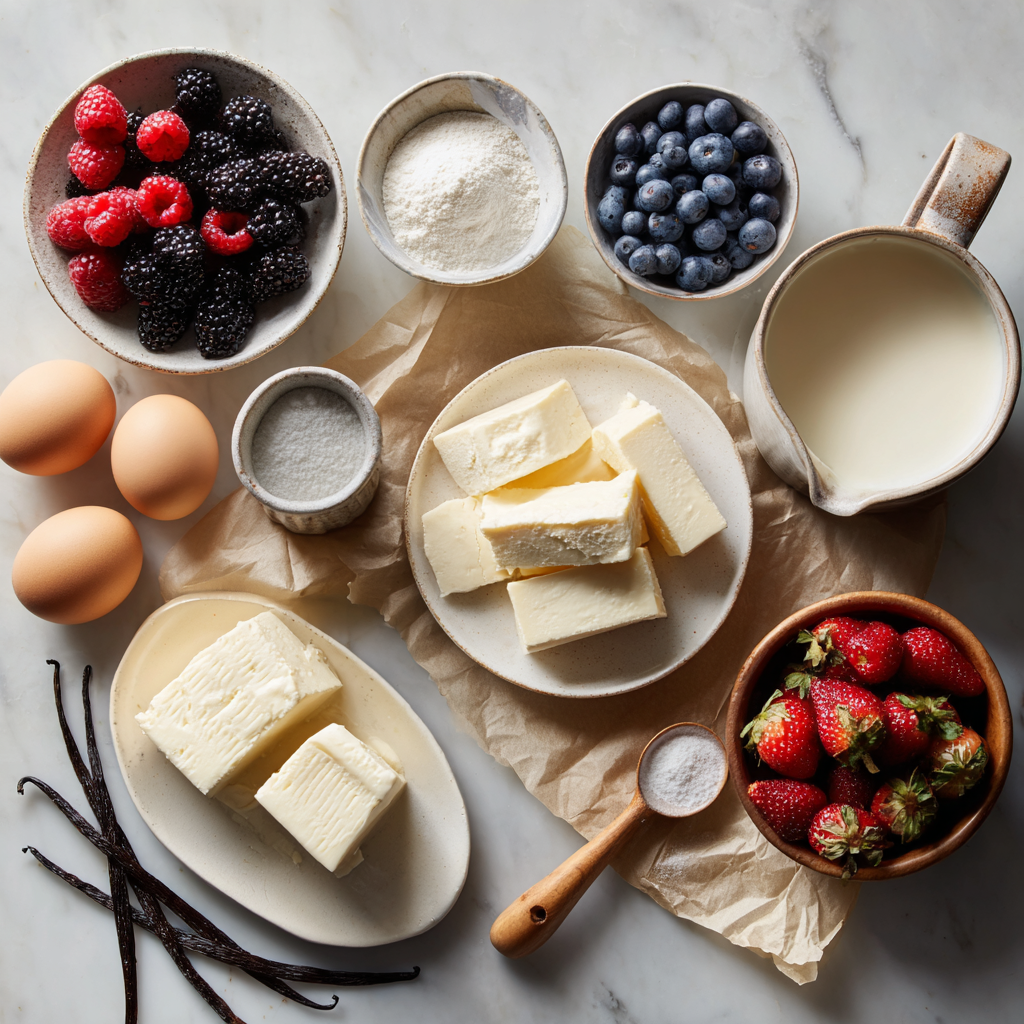
The beauty of this recipe lies in its simplicity. Because there are so few components, the quality of your ingredients is paramount.
- 2 lbs (900g) Full-Fat Cream Cheese: It must be room temperature to achieve that iconic silkiness.
- 1 ½ cups Granulated Sugar: Essential for the caramelization (Maillard reaction) on the top.
- 6 Large Eggs: These provide the lift and the rich, custard-like mouthfeel.
- 2 cups Heavy Cream: High fat content (36%+) is non-negotiable for the “ooze” factor.
- 1 tsp Kosher Salt: To cut through the richness and enhance the vanilla.
- 1 tsp Vanilla Extract: High-quality bean paste or extract adds an aromatic finish.
- 1/3 cup All-Purpose Flour: Just enough to stabilize the proteins without making it “cakey.”
Pro Substitution: For a gluten-free version, you can swap the all-purpose flour for cornstarch or a 1:1 gluten-free baking blend. The result will be even creamier.
Timing: High Heat, Fast Results
Unlike its New York cousin, which requires hours of low-temperature pampering, the Burnt Basque Cheesecake thrives on intensity.
- Prep Time: 15 minutes
- Cook Time: 50–55 minutes
- Total Time: 1 hour 10 minutes (plus cooling)
Data Insight: At a baking temperature of 400°F (200°C), this recipe cooks roughly 40% faster than a traditional cheesecake, which usually lingers in the oven for 90 minutes at lower temperatures.
Step-by-Step Instructions
1. Prep the “Rustic” Pan
Preheat your oven to 400°F (200°C). Line a 9-inch springform pan with two overlapping sheets of parchment paper. Ensure the paper rises at least 2 inches above the rim of the pan. Don’t worry about creases—the wrinkles give the cheesecake its famous rustic, pleated edges.
2. Cream the Base
Using a stand mixer or hand mixer, beat the cream cheese and sugar on medium speed until the sugar has completely dissolved and the mixture is smooth. Scrape down the sides frequently.
3. Incorporate the Eggs
Add the eggs one at a time. Mix until just combined. You want to avoid whipping too much air into the batter; we are looking for a dense, creamy texture, not a soufflé.
4. Add the Liquids and Flour
Slowly pour in the heavy cream, vanilla, and salt while mixing on low. Sift the flour over the batter and fold it in gently until no lumps remain.
5. The High-Heat Bake
Pour the batter into the prepared pan. Bake for 50–55 minutes. Actionable Tip: You are looking for a deep, dark brown (almost black) top. The cheesecake should still have a very dramatic “jiggle” in the center when moved.
6. The Cooling Process
Let the cake cool completely in the pan at room temperature. It will fall significantly as it cools—this is expected and creates the dense, creamy center.
Nutritional Information
This is an indulgent dessert meant for sharing. Here is the breakdown per serving (based on 12 slices):
| Nutrient | Amount Per Serving | Data Insight |
| Calories | 485 kcal | High-density energy source |
| Total Fat | 42g | Primarily from dairy fats |
| Saturated Fat | 26g | 130% Daily Value |
| Carbohydrates | 22g | Lower than traditional crust-based cakes |
| Protein | 8g | Derived from high egg count |
Export to Sheets
Healthier Alternatives for the Recipe
If you want the Basque experience with a lighter profile, try these modifications:
- Greek Yogurt Swap: Replace 1 cup of the heavy cream with 1 cup of full-fat Greek yogurt. This adds a pleasant tang and increases the protein content while lowering the fat.
- Honey Sweetener: Substitute half the sugar with honey. This will accelerate the browning process, so keep a close eye on the oven!
- Crustless Advantage: Naturally, this recipe is lower in refined carbs than traditional cheesecakes because it lacks a thick cookie base.
Serving Suggestions
- Room Temperature is King: While most cheesecakes are served cold, the Burnt Basque Cheesecake is best at room temperature. This allows the center to stay soft and almost molten.
- The Sherry Pairing: In Spain, this is often served with a glass of Pedro Ximénez sherry.
- Flaky Sea Salt: Sprinkle a pinch of Maldon sea salt over the top to contrast the sweet caramelization of the “burnt” lid.
Common Mistakes to Avoid
- Using a Cold Pan: Ensure your parchment paper is well-positioned so the batter doesn’t stick to the metal, which can cause uneven heating.
- Over-baking: If the center doesn’t jiggle like a bowl of setting jelly, you’ve cooked it too long. The “burnt” look comes from the heat, not the duration.
- Low-Fat Dairy: Never use “light” cream cheese or low-fat cream. The structure will collapse, and the flavor will be thin.
Storing Tips for the Recipe
- Fridge: Store in an airtight container for up to 4 days.
- Reheating: If you prefer that “melt-in-the-middle” texture after refrigeration, let a slice sit out for 30 minutes before eating, or give it 10 seconds in the microwave.
- Freezing: This cake freezes surprisingly well. Wrap individual slices in plastic wrap and freeze for up to 2 months.
Conclusion
The Burnt Basque Cheesecake is a celebration of flavor over perfection. Its scorched top and creamy heart create a sensory experience that no “perfect” cake can match. It’s fast, foolproof, and guaranteed to impress.
Ready to get scorched? Try this recipe tonight and share your results in the comments! Don’t forget to subscribe for more gourmet baking guides.
FAQs
Why didn’t my cheesecake get dark on top?
Your oven temperature might be running low. Use an oven thermometer to ensure it’s reaching a true 400°F. You can also move the rack to the top third of the oven for the last 5 minutes.
Does it taste burnt?
Surprisingly, no! It tastes like toasted marshmallows or deep caramel. The “burnt” part is actually caramelized milk solids and sugars.
Can I make this in an Air Fryer?
Yes! You can bake a smaller version at 375°F for about 20-25 minutes. It’s an excellent way to get that intense top heat.
Why did my cheesecake sink?
It’s supposed to! Because there is no crust to hold the walls up, the cake expands in the heat and settles as it cools, creating that iconic dip.
Would you like me to generate a custom shopping list or a printable version of this recipe for you?