>>
30-MINUTE MEALS! Get the email series now →


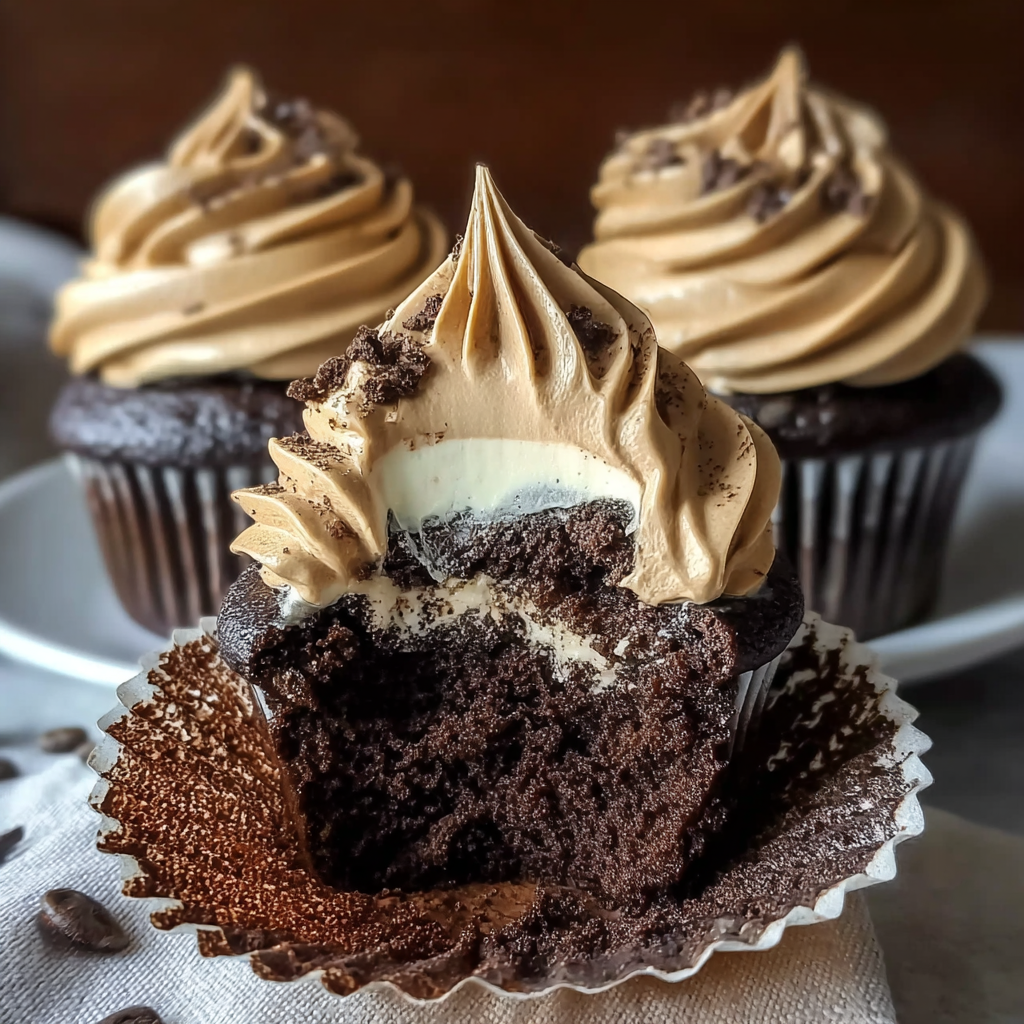
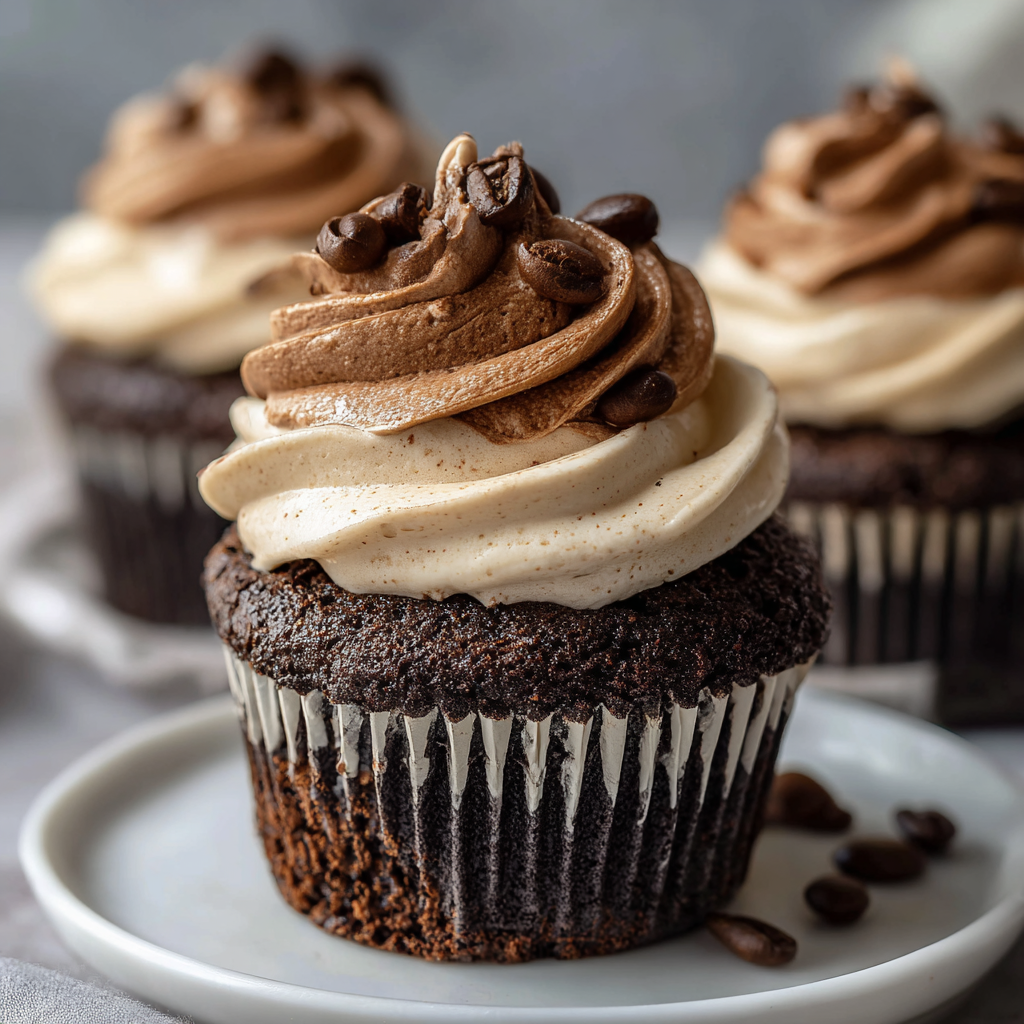
Rich chocolate cupcakes infused with hot coffee and filled with airy vanilla whipped cream for a mocha-inspired treat that feels bakery-special yet weeknight easy.
There is something irresistible about the way chocolate and coffee amplify each other, and these chocolate coffee cream cupcakes are my favorite way to bring that magic to a casual celebration. I first baked a version of these during a neighborhood brunch when I wanted a dessert that was elegant but not fussy. The aroma of hot coffee stirred into cocoa and sugar felt like a warm hug, and the first bite confirmed what the scent promised: a deep, rounded chocolate flavor with a gentle espresso backbone and a cool, fluffy cream center. They vanished so quickly that I had to bake a second batch that same afternoon.
Since then, these have become my anytime treat for birthdays, cozy movie nights, and even hostess gifts. The cake is tender and moist thanks to a blend of melted butter and vegetable oil, and the batter is intentionally thin, which bakes into cupcakes with a fine, even crumb. Topped and filled with a vanilla-scented whipped cream, they have a joyful contrast of textures: soft, rich chocolate cake and a cloud-like cream that feels lighter than frosting yet just as satisfying. If you love mocha, or even if you simply enjoy a recipe that tastes far more complex than the simple steps behind it, these cupcakes will win you over.
Whenever I serve these, the first bite always earns a pause and a smile. My brother calls them “cappuccino cupcakes” and inevitably reaches for a second. The cream-filled center is an unexpected delight, and the soft, moist cake means they never feel heavy. It is the kind of dessert that disappears from the plate faster than you can make coffee for a second round.

My favorite part is the first forkful that finds the hidden pocket of cream. It reminds me of weekend mornings when my dad would pair a strong cup of coffee with a square of chocolate. These cupcakes capture that feeling in a tidy, celebratory package, and they never fail to spark conversation around the table.
Store filled and frosted cupcakes in the refrigerator in a snug, lidded container to protect the cream and prevent fridge odors from sneaking in. They will keep well for up to 4 days without drying out, thanks to the oil and butter combo in the cake. For make-ahead, bake the cupcakes, cool completely, and freeze them unfrosted in a single layer until firm, then transfer to a freezer bag with the air pressed out. They will hold for up to 3 months. Thaw at room temperature for about 1 hour before coring and filling. To refresh a chilled cupcake, let it sit out 10 to 15 minutes before serving; the flavors bloom as the cake warms slightly.
If you prefer a milder coffee presence, use half coffee and half hot water, or go fully decaf. Swap whole milk with unsweetened almond or oat milk in equal amounts if you need a dairy-light option, but keep the heavy cream for structure. For a richer chocolate profile, add 1/2 teaspoon espresso powder to the dry ingredients. No Dutch-processed cocoa on hand? Natural cocoa works; the cake will be slightly lighter in color with a more pointed cocoa flavor. You can replace the melted butter with an additional 1/2 cup neutral oil for an extra-soft crumb, though you will lose some buttery depth. For the cream, stabilize with 1 tablespoon instant vanilla pudding mix if transporting to a warm environment.
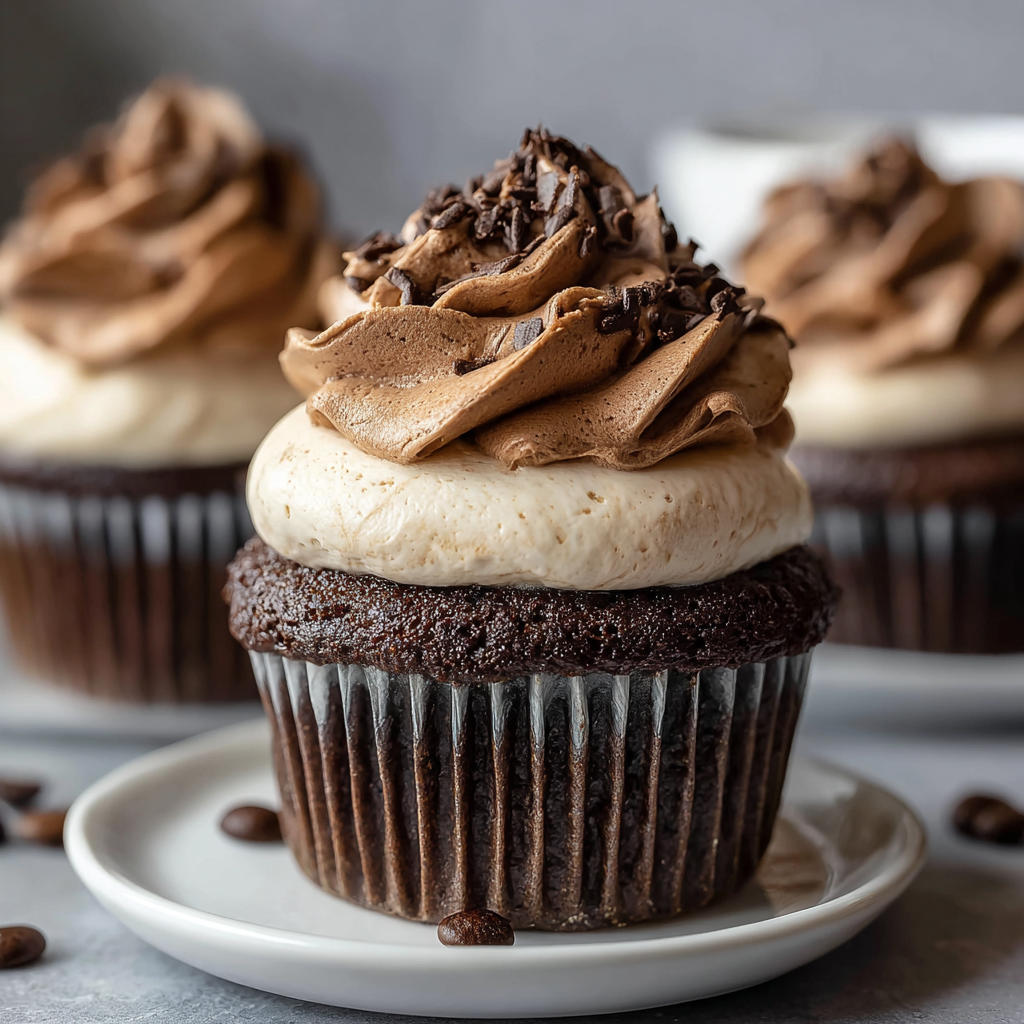
These cupcakes look beautiful on a simple white platter with a light dusting of cocoa and a few chocolate curls. For brunch, serve alongside a fruit salad with berries and citrus to brighten the plate. For dessert, pair with fresh strawberries or a drizzle of warm chocolate sauce. During winter months, present them with small demitasse cups of strong coffee; in summer, try iced cold brew to echo their mocha spirit. If you are hosting a party, offer two topping bowls at the table: one with chocolate shavings and one with mini chocolate chips or sprinkles so guests can add their own finish.
The marriage of chocolate and coffee has roots in European baking traditions, where bakers learned that coffee enhances cocoa’s complexity. Mocha, named after the Yemeni port of Mocha associated with coffee trade, inspired countless desserts that blend these flavors. American home bakers embraced the pairing as cocoa became more accessible and drip coffee a household staple. Today, the combination is beloved across bakeries and home kitchens for its balance: coffee’s bitterness rounds out cocoa’s sweetness, creating a dessert that tastes sophisticated yet familiar. These cupcakes celebrate that history with a light, modern whipped cream finish rather than a heavy buttercream.
In spring, fold 1/2 cup finely chopped dark chocolate into the batter for extra pops of richness and crown each cupcake with a sliced strawberry. Summer calls for a chilled presentation with a sprinkle of cocoa and a few raspberries. In fall, add 1/2 teaspoon cinnamon to the dry ingredients for a subtle warmth that complements coffee beautifully. Around the holidays, a pinch of nutmeg or a teaspoon of peppermint extract in the cream gives a festive twist. For New Year’s Eve, add 1 tablespoon coffee liqueur to the cream and garnish with gold sprinkles for sparkle.
For the smoothest prep, bake the cupcakes a day in advance and store them unfrosted, covered, at room temperature if your kitchen is cool, or refrigerated if warm. Whip the cream just before filling to keep it fluffy and stable. If transporting, stabilize the cream with 1 tablespoon instant pudding mix or 1 tablespoon mascarpone for extra hold. Carry filled cupcakes in a snug cupcake carrier so the tops stay pristine. If scaling up for a crowd, mix the batter in two batches to prevent overfilling the bowl and ensure even mixing. Keep a spare piping bag ready so you can switch to a fresh tip if the cream warms as you work.
One of my favorite memories of these cupcakes is from a cozy winter game night. I brought a tray dusted lightly with cocoa, and by the second round of cards there was a chorus of surprised “there is cream inside!” reactions. A neighbor asked for the recipe on the spot, and another guest who is not usually a frosting fan loved the lightness of the cream topping. That balance of flavors and textures is what makes these a guaranteed hit, whether you are making them for a birthday or just to brighten a quiet evening at home.
There is a special kind of joy that comes from baking something simple that tastes extraordinary. These chocolate coffee cream cupcakes deliver that pleasure every time. I hope you bake them soon, pour yourself a fresh cup of coffee, and share the moment with someone you love.
Chill the mixing bowl and beaters for 10 minutes before whipping cream for maximum volume and stability.
Use a spring-loaded scoop to fill liners evenly and improve rise consistency across the pan.
Whisk dry ingredients thoroughly to distribute leaveners and avoid uneven domes.
Replace half the coffee with hot water if baking for kids or those sensitive to caffeine.
Sift cocoa and powdered sugar to prevent lumps in both batter and whipped cream.
This nourishing chocolate coffee cream cupcakes recipe is sure to be a staple in your kitchen. Enjoy every moist, high protein slice — it is perfect for breakfast or as a wholesome snack any time.
Yes. Replace the hot coffee 1:1 with very hot water. You will still get rich chocolate flavor, though the mocha note will be milder.
Bake the cupcake bases up to 3 months ahead and freeze in an airtight bag. Thaw at room temperature for about 1 hour, then core, fill, and top with freshly whipped cream on the day you serve.
Use decaf coffee for the same flavor with less caffeine. For a stronger mocha, add 1/2 to 1 teaspoon espresso powder to the dry ingredients.
Keep them in a covered container in the fridge for up to 4 days. Let sit at room temperature 10 to 15 minutes before serving for the best texture and flavor.
This Chocolate Coffee Cream Cupcakes recipe makes perfectly juicy, tender, and flavorful steak every time! Serve with potatoes and a side salad for an unforgettable dinner in under 30 minutes.
Preheat oven to 350°F. Line a 12-cup muffin tin with paper liners and position an oven rack in the center for even baking.
In a large bowl, whisk together flour, cocoa powder, baking powder, baking soda, and salt until fully combined and lump-free.
In a second bowl, whisk melted butter, vegetable oil, granulated sugar, and vanilla until glossy and smooth.
Whisk in the milk and then the eggs one at a time until the mixture is fully emulsified and smooth.
Pour the wet ingredients into the dry and whisk gently until just combined. Do not overmix to keep the crumb tender.
Slowly whisk in the hot coffee. The batter will be thin, which is expected and ensures moist, evenly baked cupcakes.
Fill liners about 3/4 full and bake for 18 to 20 minutes, or until a toothpick comes out clean or with a few moist crumbs.
Cool in the pan for 10 minutes, then transfer to a wire rack to cool fully before adding cream.
Beat heavy cream, powdered sugar, and vanilla to stiff peaks, about 2 to 3 minutes with a hand mixer on medium-high speed.
Core each cupcake with a corer or paring knife, fill with whipped cream, top with a swirl, and garnish with chocolate shavings.
Last Step: Please leave a rating and comment letting us know how you liked this recipe! This helps our business to thrive and continue providing free, high-quality recipes for you.
Leave a comment & rating below or tag
@kitchenfunwithmy3sons on social media!

A quick, restorative broth packed with garlic, ginger, miso and turmeric—ready in 10 minutes to soothe, hydrate and support immunity.
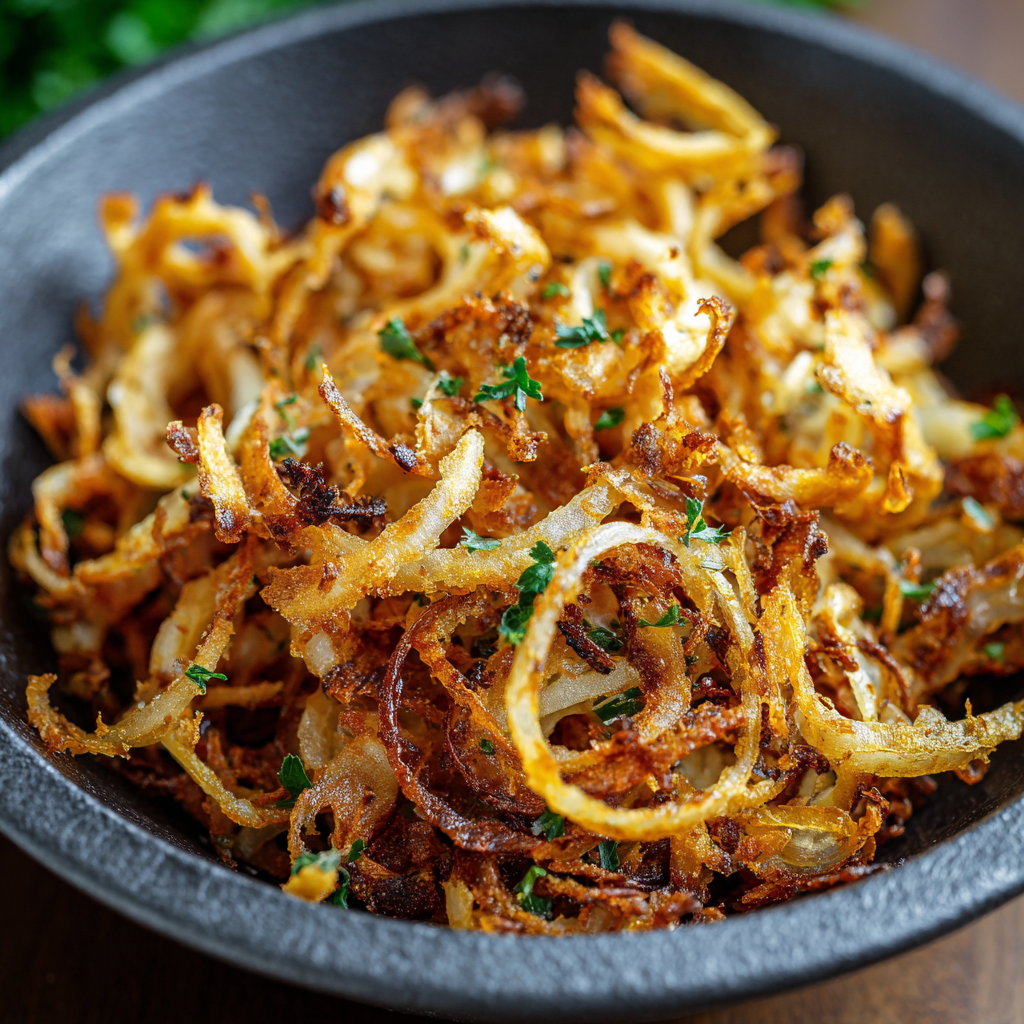
Make irresistibly crispy caramelized onions in the air fryer using a whisper of oil—no deep frying required. A perfect crunchy condiment to top salads, biryanis, and sandwiches.
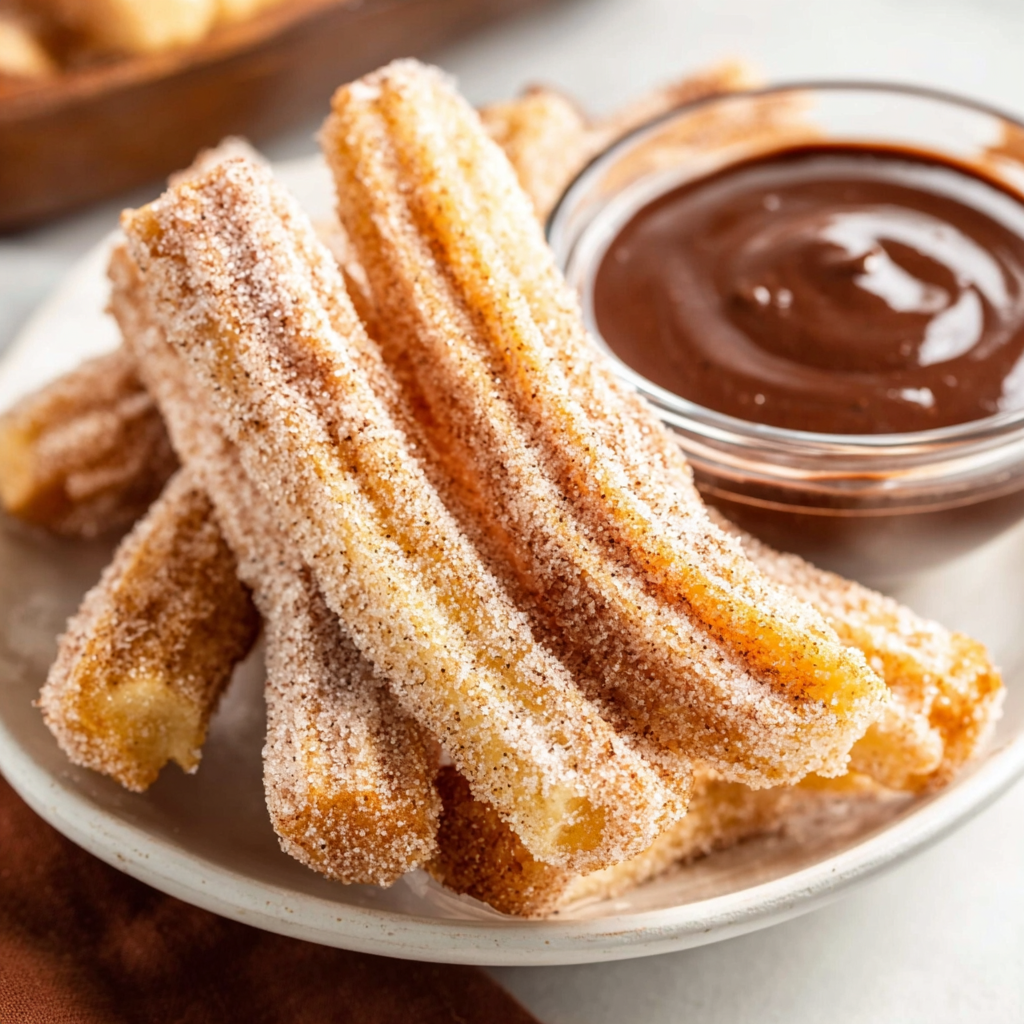
Golden, crisp-on-the-outside, pillowy-on-the-inside churros made in the air fryer. A lighter way to enjoy a Mexican classic, perfect for parties and weeknight treats.
Leave a comment & rating below or tag @kitchenfunwithmysons on social media!
Enjoyed this recipe? Share it with friends and family, and don't forget to leave a review!
This recipe looks amazing! Can't wait to try it.
Comments are stored locally in your browser. Server comments are displayed alongside your local comments.
Quick and easy dinner ideas delivered to your inbox.