Follow Me On Social Media!
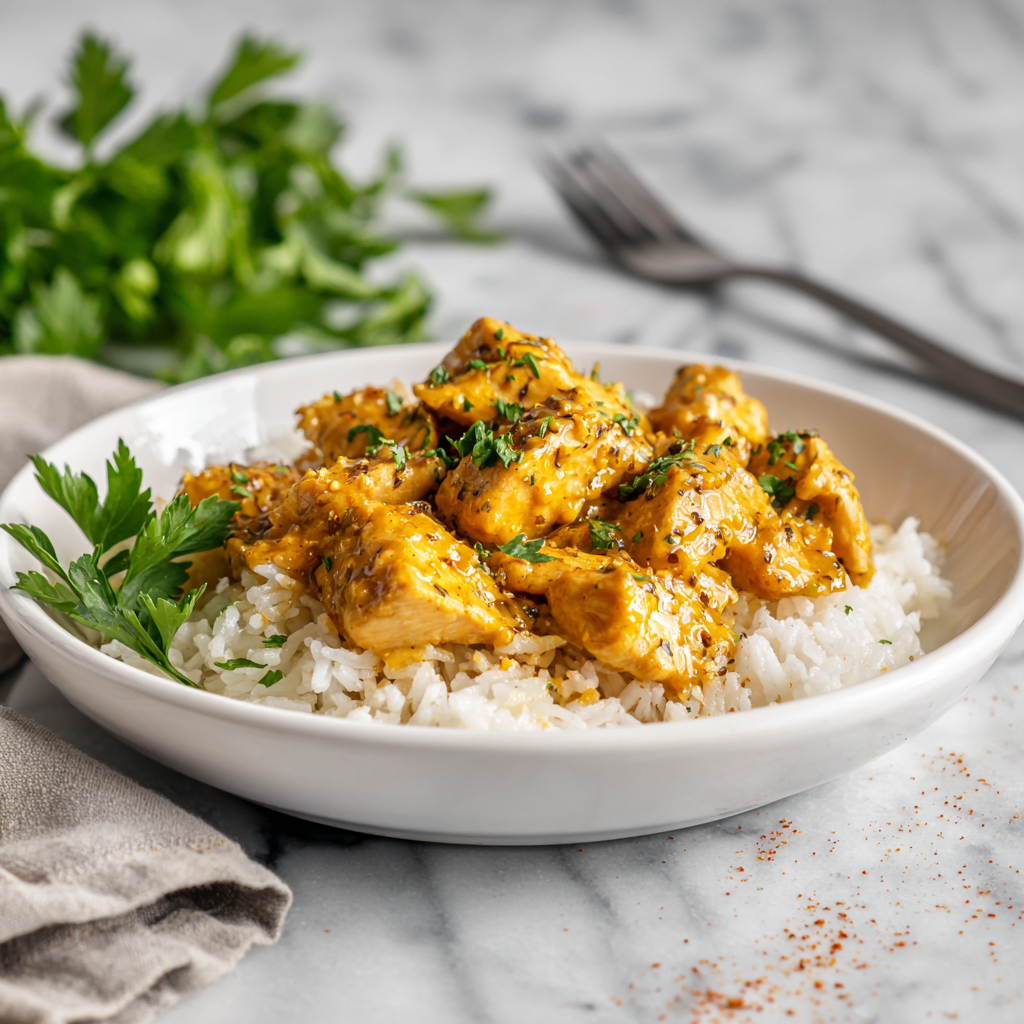
Honey Mustard Chicken: The “Emulsion-Glaze” Method
The Science of “Sticky-Tender” Balance
Honey mustard chicken often suffers from two extremes: either the sauce is too watery, or the honey burns before the chicken is cooked. In 2026, we solve this with Two-Stage Caramelization:
- The Emulsion Barrier: By whisking the mustard and honey with a touch of oil, we create a stable emulsion. The mustard acts as an emulsifier, binding the fat and sugar together. This creates a thick coating that “clings” to the chicken, protecting the meat from drying out while the sugars slowly brown.
- The High-Heat Finish: Honey burns at approximately 320°F (160°C). We bake the chicken at a moderate temperature to cook it through, then use a quick high-heat “blast” or broil at the end to trigger the Maillard reaction without carbonizing the sugars.
Ingredients List
- The Protein:
- 1.5 lbs Chicken Thighs or Breasts: Thighs are more forgiving for beginners.
- The “Golden” Glaze:
- Dijon Mustard (¼ cup): For sharp heat and emulsification.
- Honey (¼ cup): Wildflower or Clover works best.
- Whole Grain Mustard (1 tbsp): For texture and “pop.”
- Olive Oil (1 tbsp): To prevent the honey from “snapping” or becoming too brittle.
- Garlic (2 cloves): Minced.
- The Seasoning:
- Fresh Thyme (1 tsp) or Smoked Paprika (½ tsp).
- Salt & Heavy Black Pepper.

Timing: The “Glaze-and-Glow” Schedule
- Prep: 10 minutes.
- Marinate: 15–30 minutes (Optional, but recommended).
- Bake: 20–25 minutes.
Step-by-Step Instructions
Step 1: The Emulsion Mix
In a small bowl, whisk the honey, both mustards, oil, garlic, and spices.
Actionable Advice: Set aside 2 tablespoons of this sauce before it touches the raw chicken. You’ll use this at the very end as a “fresh” glaze to give the dish a glossy, professional finish.
Step 2: The Coat
Pat the chicken dry (moisture is the enemy of a good glaze). Season with salt and pepper, then toss in the remaining honey mustard mixture until every crevice is coated.
Step 3: The Bake
Arrange the chicken on a parchment-lined sheet pan or in a baking dish. Bake at 375°F (190°C).
- The Science: This temperature is high enough to render fat but low enough that the honey won’t smoke.
Step 4: The Basting Ritual
Halfway through (around the 12-minute mark), use a spoon to scoop up the juices from the pan and pour them back over the chicken.
- The 2026 Pro-Tip: If using breasts, check the internal temperature now. You want to pull them at 160°F (71°C) for carryover cooking to reach the safe 165°F.
Step 5: The “Glass” Finish
Remove the chicken from the oven. Brush on that reserved “fresh” glaze you set aside in Step 1. Let the chicken rest for 5 minutes. This creates a “glass-like” shine and a punch of raw mustard flavor.
Common Mistakes to Avoid
- Using “Honey Mustard” Dressing: Do not use bottled salad dressing. It contains stabilizers and water that will steam the chicken rather than glaze it.
- Crowding the Pan: If the chicken pieces are touching, the honey will pool and boil rather than caramelizing into a sticky crust.
- The “Cold Start”: If your chicken is ice-cold from the fridge, the honey glaze will slide right off. Let the meat sit at room temp for 15 minutes before coating.
3 Modern Pairings for 2026
| Side Dish | Why it Works |
| Garlic Roasted Broccoli | The charred florets catch the extra honey mustard drippings. |
| Quinoa with Lemon | The acidity of the lemon cuts through the sweetness of the honey. |
| Sweet Potato Wedges | The natural sugars in the potato mirror the glaze profile. |
Export to Sheets
Would you like me to show you how to turn this into a “One-Pan” meal by adding green beans and potatoes to the same sheet pan?