Follow Me On Social Media!
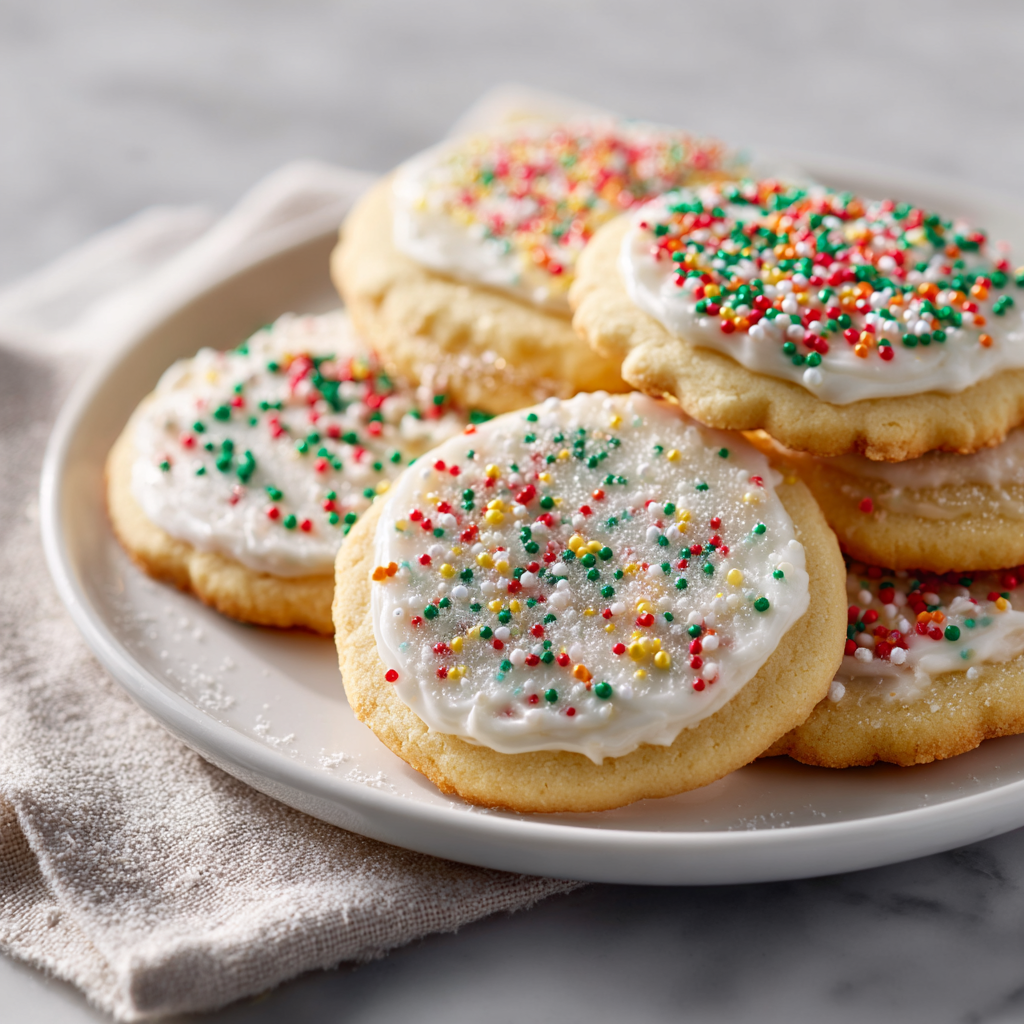
Classic Christmas Sugar Cookies: The “Structural Snap” Method
The Science of the “No-Spread” Edge
The holy grail of a Christmas sugar cookie is a shape that remains perfectly sharp after baking. To achieve this, we focus on Gluten Control and Fat Stability:
- The Creaming Limit: Unlike cakes, we do not want to whip too much air into the butter and sugar. Excessive air causes the cookies to puff and then collapse, blurring the edges of your star or snowflake shapes.
- The Cold-Chain: By keeping the dough below 65°F (18°C) during the cutting process, the butter molecules remain “ordered.” This ensures that when the heat of the oven hits, the outer edges set (via the Maillard reaction) before the internal fat has a chance to melt and spread.
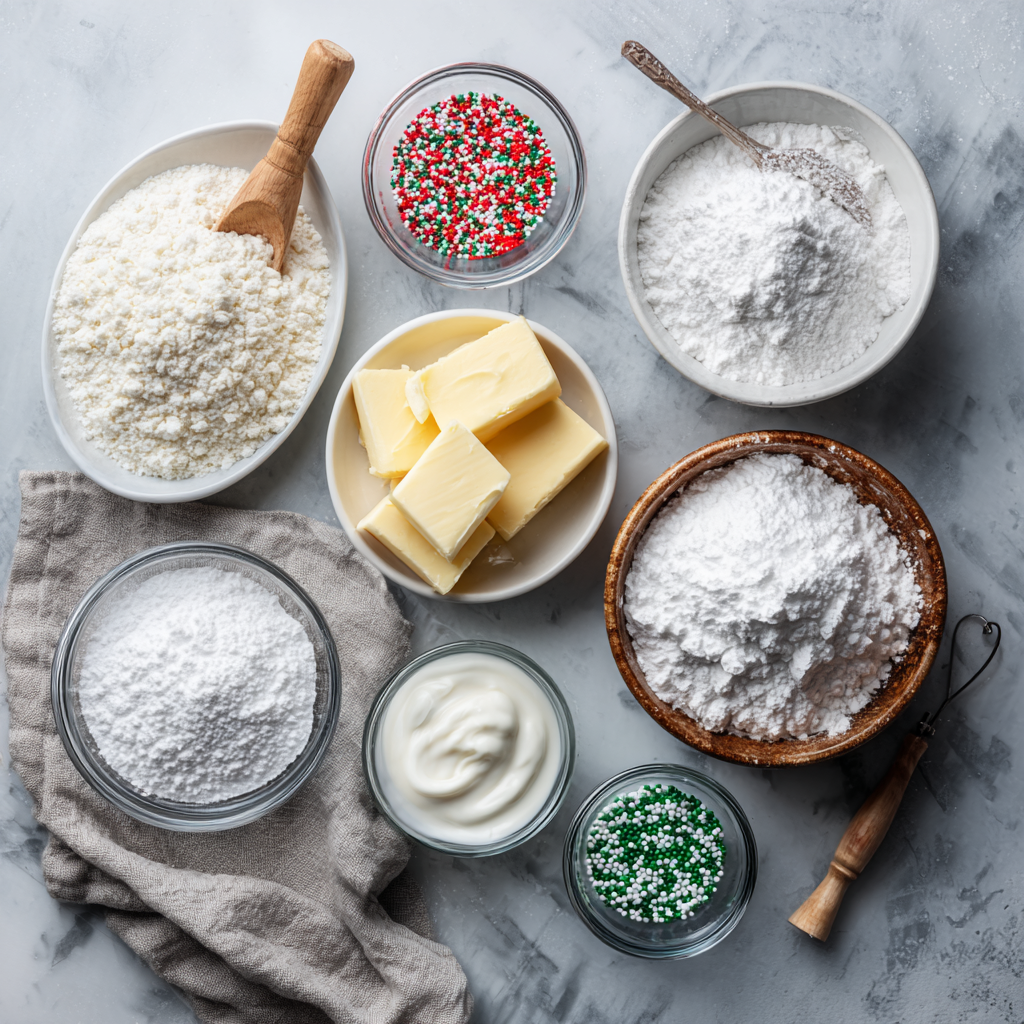
Ingredients List
- The Foundation:
- All-Purpose Flour (3 cups): Sifted for a smooth crumb.
- Baking Powder (43 tsp): Just enough for a light “bite” without causing rise.
- Salt (21 tsp).
- The “Cream” Base:
- Unsalted Butter (1 cup / 227g): Cool room temperature (it should dent with pressure but not be oily).
- Granulated Sugar (1 cup).
- The Binders & Aromatics:
- Large Egg (1).
- Vanilla Extract (2 tsp) & Almond Extract (21 tsp): The almond extract is the “secret” bakery flavor.
Nutritional Information (Per Cookie)
Based on 24 medium cookies (unfrosted).
| Nutrient | Amount |
| Calories | 155 kcal |
| Total Fat | 8g |
| Net Carbohydrates | 19g |
| Protein | 2g |
Export to Sheets
Timing: The “Precision” Schedule
- Prep: 20 minutes.
- Chilling: 1–2 hours.
- Baking: 8–10 minutes.
Step-by-Step Instructions
Step 1: The Controlled Creaming
Beat the butter and sugar until combined and smooth, about 2 minutes. Add the egg, vanilla, and almond extract.
Actionable Advice: If you see “peaks” forming in the butter, you’ve beaten in too much air. Stop as soon as the mixture is pale and uniform.
Step 2: The Dry Integration
Gradually add the flour, baking powder, and salt. The dough should pull away from the sides of the bowl and feel like heavy play-dough.
Step 3: The “Split and Chill”
Divide the dough into two discs and wrap in plastic. Refrigerate for at least 1 hour.
Step 4: The Rolling Technique
Roll the dough to exactly 41-inch (approx. 6mm) thickness.
- The Pro-Tip: Use “Rolling Pin Rings” (rubber spacers) to ensure the dough is perfectly level. An uneven cookie will bake at different rates, leading to burnt edges and raw centers.
Step 5: The “Sharp-Edge” Cut
Press your cookie cutters firmly into the cold dough. If the dough sticks to the cutter, dip the cutter in a small bowl of flour first.
Step 6: The “Flash” Bake
Bake at 350°F (175°C) for 8–10 minutes.
- The Reveal: The cookies should look “matte” and set on top. They should not turn brown. A perfectly baked sugar cookie is pale on top with a very light golden bottom.
3 Modern Decorating Tips for 2026
| Method | Technique | Aesthetic |
| Wet-on-Wet | Adding dots of wet icing to a wet base. | Creates “marble” or “leopard” patterns. |
| The “Dip” | Dipping the face of the cookie into a shallow bowl of glaze. | Fast, high-gloss, professional finish. |
| Gold Splatter | Flicking edible gold luster dust mixed with vodka. | High-end, luxury holiday look. |
Export to Sheets
Common Mistakes to Avoid
- Warm Cookie Trays: Never place cold dough on a hot tray. It will cause the butter to melt instantly, destroying your shapes.
- Over-flouring: If you use too much flour on the counter, the last few cookies you roll will be tough and dry. Try rolling between two sheets of parchment paper instead.
- Frosting Too Early: If the cookie is even slightly warm, your royal icing will “melt” and turn transparent. Wait at least 2 hours.
Would you like me to help you create a “Royal Icing Consistency Guide” to help you achieve the perfect “flood” and “detail” textures?