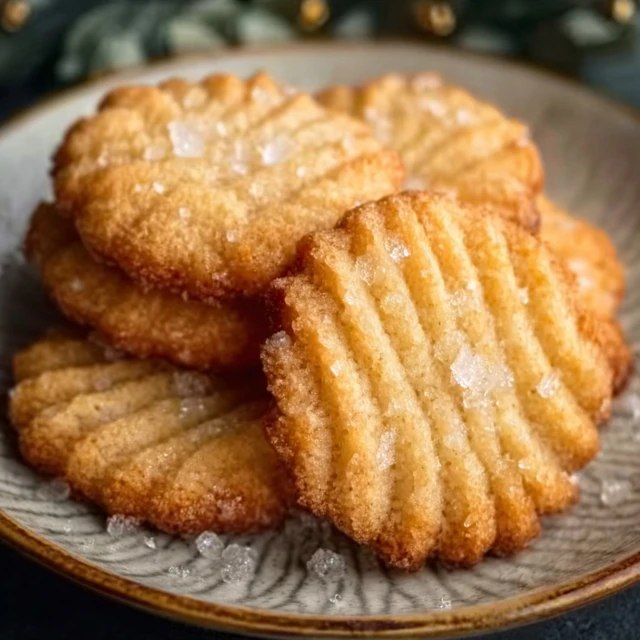
This is the cookie that defined my childhood — those iconic Danish butter cookies from the blue metal tin that appeared at every grandmother’s house every December. Butter cookies (also called Danish butter cookies) takes just 5 ingredients — butter, sugar, egg yolk, flour, vanilla — and turns them into piped rosettes, pretzels, and wreaths that bake into the perfect crisp-buttery cookies you’ve been eating from tins for decades. Homemade version is 10x better than store-bought.
Fun fact: those iconic blue tins of Danish butter cookies (Royal Dansk, Kjeldsens) became globally famous because they were marketed as luxury gifts and exported worldwide starting in the 1960s. The tins themselves became collector’s items and a global meme — every grandma uses them to store sewing supplies instead of cookies. The cookies inside are actually descended from a recipe called “Småkager” (“small cakes”) that Danish bakers have made since the 1800s.
Why this recipe works
- Butter must be SOFT but COOL. Too cold = hard to pipe; too warm = cookies spread. Aim for the “holds a fingerprint” stage.
- Pipe with a star tip. Open Wilton 1M or 2D star tip creates the ridges that hold their shape and create the iconic look.
- Bake JUST until edges are pale gold. These should be sandy and tender, not toasty brown. Underbake by 1 min if unsure.
Nutrition information
- Calories: 80 kcal per cookie
- Protein: 1 g
- Carbohydrates: 8 g
- Fat: 5 g
- Sodium: 25 mg
- Sugar: 3 g
Pro tips for the best butter cookies
- Powdered sugar, not granulated. Powdered dissolves smoothly into the butter and creates the melt-in-mouth texture. Granulated makes gritty cookies.
- Cream butter LONG. 4-5 min is non-negotiable. Under-creamed butter = dense cookies that don’t hold the piped shape.
- Pipe onto COLD pans. If your pans are warm from the oven, the butter melts and the cookies spread. Let pans cool between batches.
- Store in a tin with a tight lid. The cookies harden into the perfect crunchy texture after 24 hours. Open tin = soft cookies.
Frequently asked questions
Can I make these without a piping bag?
Yes — use a cookie press, or shape into balls and press with a fork. The texture is the same, just less fancy looking.
What if my dough is too stiff to pipe?
Butter was too cold. Let dough sit at room temp 10-15 min, then re-knead briefly. Or microwave the piping bag 5 seconds (carefully).
Can I add chocolate or sprinkles?
Yes — dip half of each cooled cookie in melted chocolate, or press sprinkles into the dough before baking. Holiday rainbow sprinkles are fun.
How long do they keep?
Store in an airtight tin at room temp for 3 weeks. They actually IMPROVE for the first 24 hours as the texture firms up. Don’t refrigerate.
Can I freeze the dough?
Yes — pipe shapes onto a sheet pan, freeze until firm, transfer to a bag. Bake straight from frozen, adding 2 minutes to bake time.