Follow Me On Social Media!
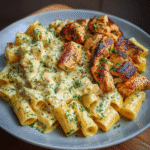
Honey Mustard Chicken & Rice: The “One-Pan Infusion” Method
To make this a complete meal, we shift from a simple glaze to a Braising Liquid. In 2026, we use the chicken’s natural drippings to flavor the rice simultaneously.
The Science of “Starch Absorption”
The secret to “restaurant-quality” rice served with chicken is Toast-then-Simmer.
- Dextrinization: By sautéing the raw rice in the rendered chicken fat for 2 minutes before adding liquid, we toast the starch. This prevents the rice from becoming a “mushy” pile and ensures each grain remains distinct while soaking up the honey-mustard nectar.
- The Emulsion Steam: As the chicken bakes on top of the rice, the honey and mustard glaze drips down, emulsifying with the broth to create a rich, built-in sauce for the grains.
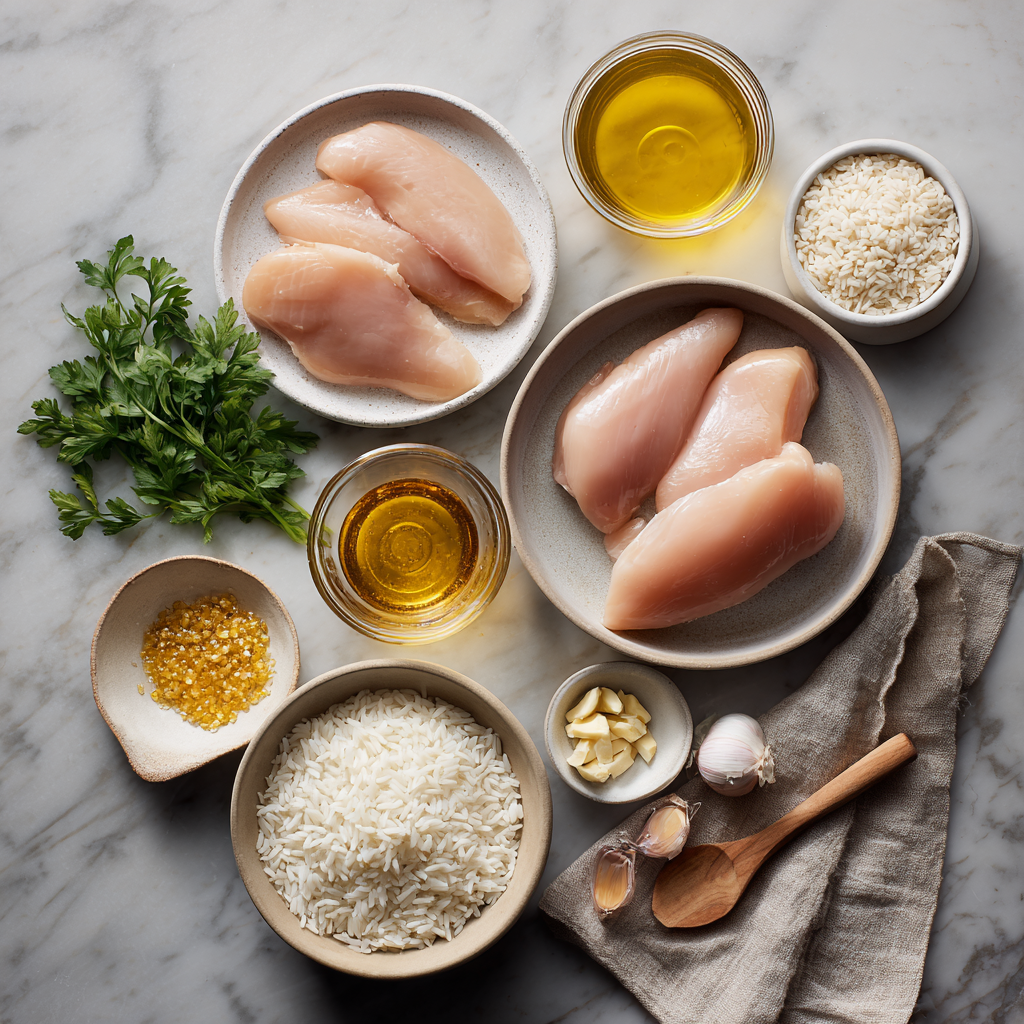
Ingredients List
- The Protein:
- 1.5 lbs Chicken Thighs: Bone-in, skin-on (recommended for maximum flavor) or boneless.
- The Honey Mustard “Mother” Sauce:
- Dijon Mustard (1/3 cup).
- Honey (1/3 cup).
- Apple Cider Vinegar (1 tbsp): To cut the sweetness.
- Garlic (4 cloves, minced) & Smoked Paprika (1 tsp).
- The Grains:
- Long-Grain White Rice or Jasmine (1.5 cups): Rinsed until the water runs clear.
- Chicken Broth (2.5 cups): Low sodium.
- Fresh Parsley (for garnish).
Timing: The “Sync-Cook” Schedule
- Prep/Rice Rinse: 10 minutes.
- Sauté/Searing: 10 minutes.
- Baking: 25–30 minutes.
Step-by-Step Instructions
Step 1: The Flavor Render
Preheat oven to 375°F (190°C). In a large oven-safe skillet or Dutch oven, sear the chicken thighs skin-side down over medium-high heat for 5 minutes.
Actionable Advice: We aren’t cooking the chicken through yet; we are just “mining” the fat. Once the skin is golden, remove the chicken and set aside.
Step 2: Toasting the Grains
Pour off all but 1 tablespoon of the chicken fat. Add the raw rice to the pan. Stir constantly for 2 minutes until the rice smells nutty and looks slightly translucent. Add half of your minced garlic during the last 30 seconds.
Step 3: The Deglaze & Build
Pour the chicken broth into the pan with the rice. Bring to a simmer, scraping the bottom of the pan to release the chicken “fond.”
Step 4: The Glaze & Nestling
Whisk the honey, mustard, vinegar, paprika, and the rest of the garlic together. Brush half of this mixture onto the seared chicken. Nestling the chicken (skin-side up) directly on top of the rice and broth.
- The 2026 Pro-Tip: Do not submerge the chicken; let it “sit” on the rice like an island so the skin stays crispy while the bottom steams.
Step 5: The Bake
Cover the pan with a tight-fitting lid (or foil) and bake for 20 minutes. Remove the lid, brush the remaining honey mustard glaze onto the chicken, and bake uncovered for another 10 minutes.
- The Visual Check: The rice is done when all liquid is absorbed and the grains are fluffy. The chicken should be 165°F.
Common Mistakes to Avoid
- The “Dirty” Rice: If you don’t rinse your rice, the excess starch will react with the honey and turn the dish into a “sticky glue.” Rinse until the water is clear!
- Liquid Ratios: Honey is a liquid, but it’s viscous. Stick strictly to the 1.5 cups rice to 2.5 cups broth ratio to ensure the rice doesn’t end up “crunchy” or “soupy.”
- The Sugar Burn: If the edges of the pan start to smell like burnt sugar, add 2 tablespoons of water to the rice around the edges to buffer the heat.
3 Modern Serving Tweaks for 2026
| The “Upgrade” | The Ingredient | Why it Works |
| The “Crunch” | Toasted Sliced Almonds | Adds a sophisticated texture to the soft rice. |
| The “Zing” | Quick-Pickled Shallots | Provides a bright pink visual and a sharp acidic bite. |
| The “Green” | Fold in Baby Spinach | Stir in a handful of spinach at the very end; the residual heat will wilt it perfectly. |
Export to Sheets
Would you like me to show you how to adapt this for a “Slow Cooker” if you prefer a set-it-and-forget-it version?