Follow Me On Social Media!
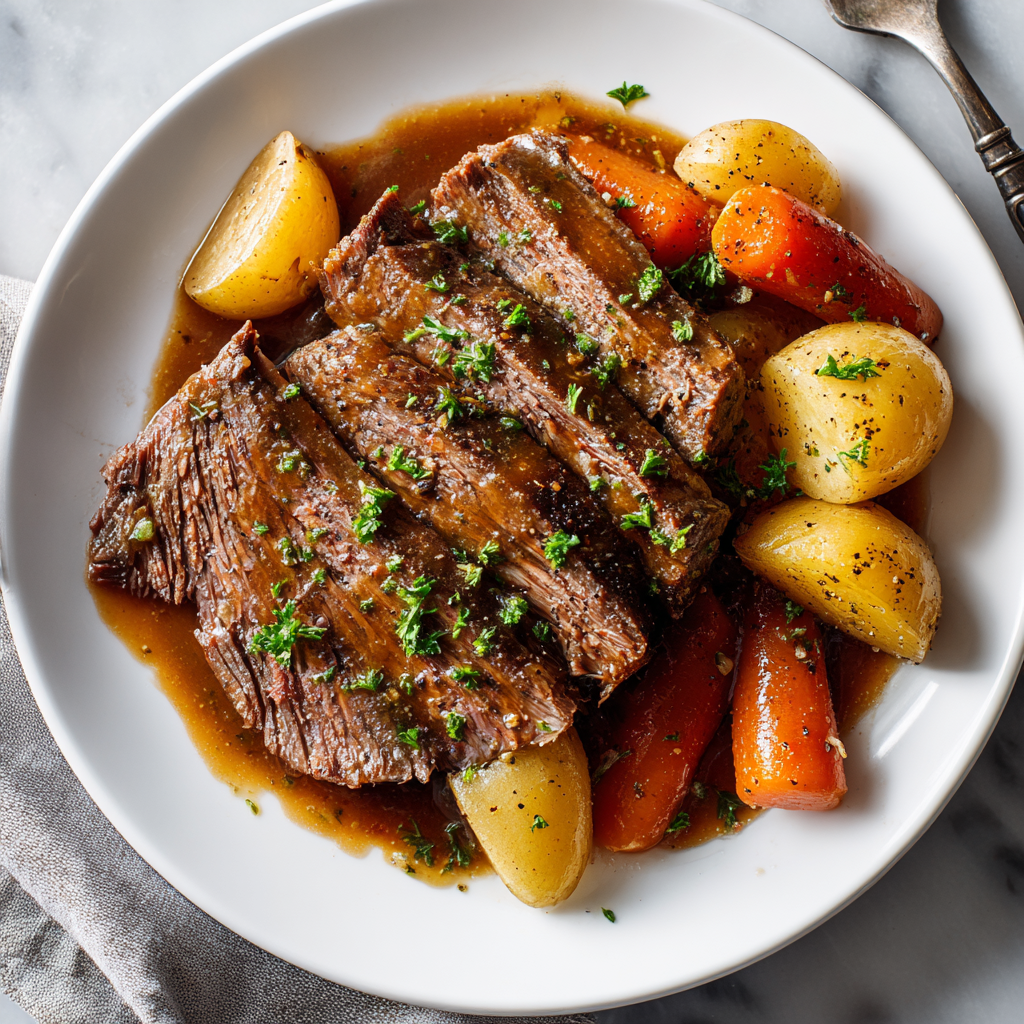
Crock Pot Chuck Roast: The “Low-Stress” Collagen Breakdown
The Science of the “Tender-Tough” Cut
Chuck roast comes from the shoulder of the cow, a heavily worked muscle group. This means it is loaded with collagen—a connective tissue that makes the meat “rubbery” if cooked quickly, but transforms into liquid gelatin when held at low temperatures for long periods.
In 2026, we maximize this with Maillard Priming:
- The Sear: We never put “raw” beef directly into the slow cooker. Searing the exterior creates complex flavor compounds (melanoidins) through the Maillard reaction that the Crock Pot simply isn’t hot enough to produce.
- Hydrolytic Cleavage: By keeping the temperature between 180°F and 200°F for 8 hours, we chemically break down the collagen into gelatin, which coats the muscle fibers and creates that “melt-in-your-mouth” texture.
Ingredients List
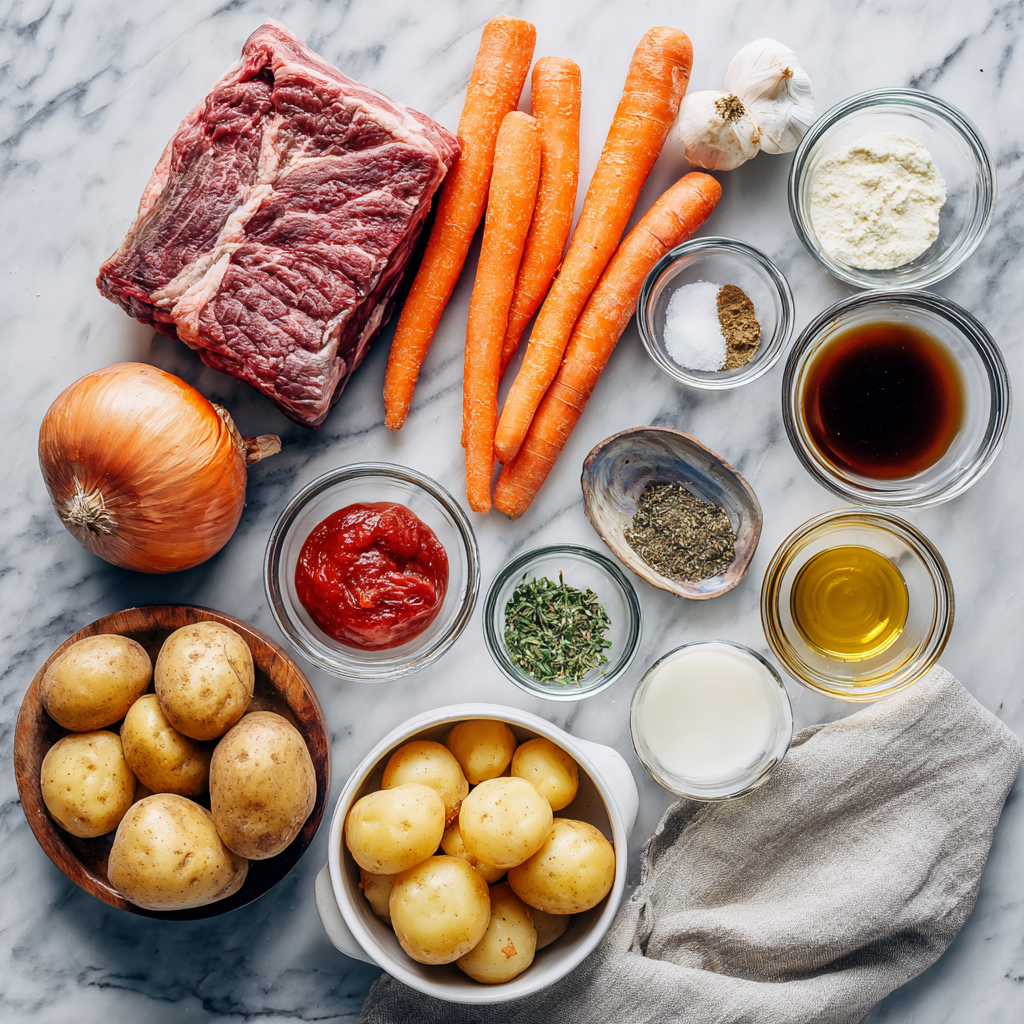
- The Main: * 3–4 lb Beef Chuck Roast: Look for heavy “marbling” (white fat veins).
- The Aromatics:
- Yellow Onion (1 large): Quartered.
- Carrots (3–4 large): Cut into 2-inch chunks.
- Baby Potatoes (1 lb): Kept whole to prevent them from turning to mush.
- Garlic (4 cloves): Smashed.
- The Braising Liquid:
- Beef Broth (1 cup).
- Red Wine (1/2 cup): Cabernet or Merlot (optional, adds acidity).
- Worcestershire Sauce (2 tbsp).
- Fresh Rosemary & Thyme.
Timing: The “Set and Forget” Schedule
- Prep/Sear: 15 minutes.
- Slow Cooker (Low): 8–10 hours (Recommended).
- Slow Cooker (High): 4–5 hours.
Step-by-Step Instructions
Step 1: The Hard Sear
Pat the beef dry with paper towels (moisture is the enemy of browning). Season heavily with salt and pepper. In a large skillet over high heat with 1 tbsp of oil, sear the roast for 3–4 minutes per side until a dark brown crust forms.
Step 2: Deglazing the “Fond”
Remove the meat and place it in the Crock Pot. Pour your beef broth into the hot skillet, scraping up the brown bits (the fond) with a wooden spoon. Pour this liquid over the beef.
Actionable Advice: Those brown bits contain about 40% of the dish’s final flavor depth. Don’t leave them in the pan!
Step 3: Layering the Veg
Place the onions, garlic, carrots, and potatoes around the beef, not under it. This allows the vegetables to steam in the aromatics rather than boiling in the rendered fat.
Step 4: The Long Simmer
Add the Worcestershire, wine, and herbs. Cover and set to Low.
- The 2026 Pro-Tip: Resist the urge to open the lid. Every time you peek, you lose about 20 minutes of cooking heat, extending the time needed to melt that collagen.
Step 5: The “Fork-Tender” Finish
The roast is done when you can easily twist a fork into the center and the meat “flakes” apart with zero resistance.
Common Mistakes to Avoid
- Using Lean Meat: Never use a “Round” roast for this. It lacks the fat and collagen needed for slow cooking and will turn out dry and “stringy.”
- Too Much Liquid: You are not making soup. The meat and vegetables will release their own juices. The liquid should only come up about 1/3 to 1/2 of the way up the beef.
- Cooking on “High”: While “High” works in a pinch, “Low” allows for a more uniform breakdown of tissues, resulting in a silkier texture.
Would you like me to walk you through how to make a 5-minute “Silky Gravy” using the leftover liquid in the pot?