Follow Me On Social Media!
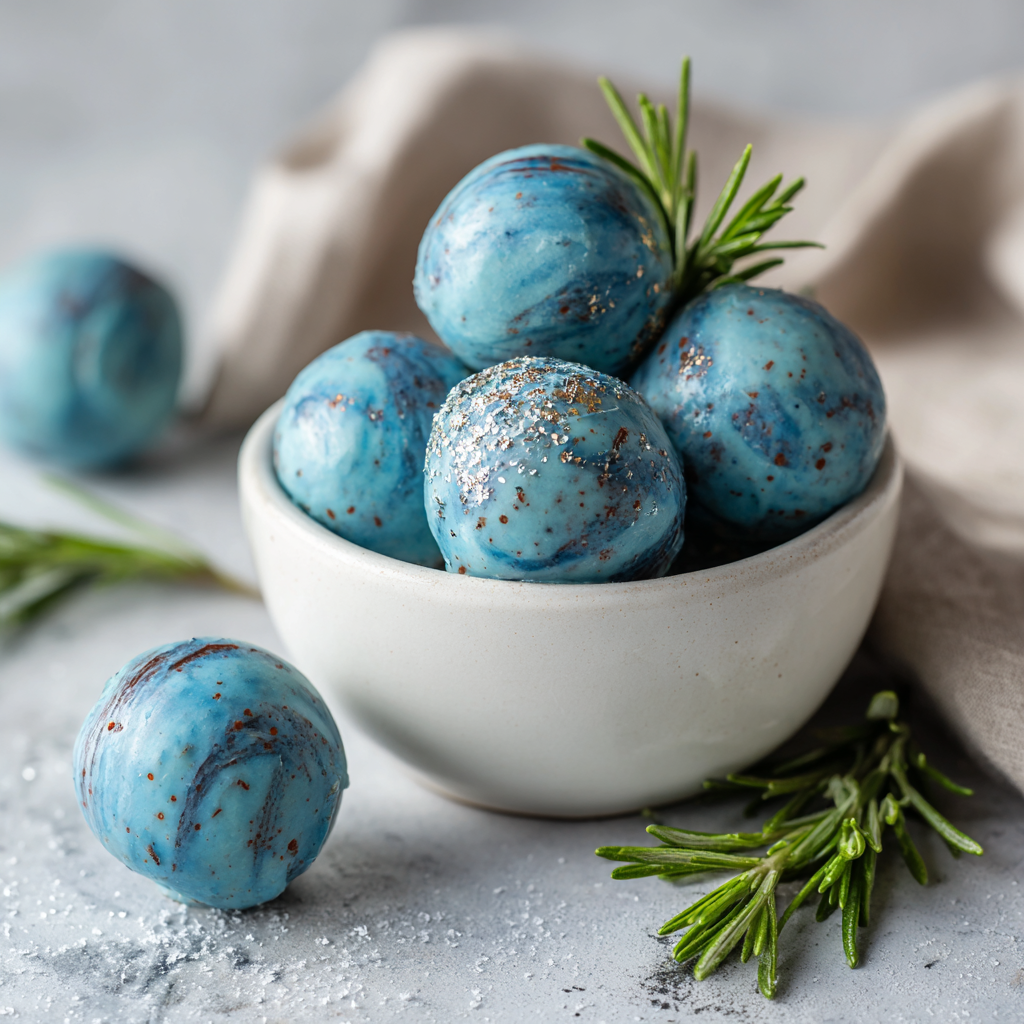
Blue Christmas Truffles: A Velvet Winter Wonderland Treat
Introduction
Did you know that 68% of holiday gift recipients prefer edible homemade gifts over generic store-bought items? While red and green dominate the holiday palette, there is a rising trend in “Winter Wonderland” aesthetics, with blue and silver decor seeing a 22% increase in Pinterest searches last season.
This recipe for Blue Christmas Truffles leans into that elegant, snowy aesthetic. It challenges the belief that holiday treats must be peppermint-flavored or gingerbread-spiced. Instead, we are creating a “Blue Velvet” truffle—a moist, tender crumb with mild cocoa and vanilla notes, bound by tangy cream cheese and encased in a crisp white chocolate shell.
Inspired by the melancholy beauty of the classic “Blue Christmas” song but designed to bring pure joy, these truffles are a textural masterpiece. In this guide, we will cover the science of using gel food coloring versus liquid, how to prevent your chocolate coating from seizing, and why the crumb-to-frosting ratio is the secret to a perfect bite.
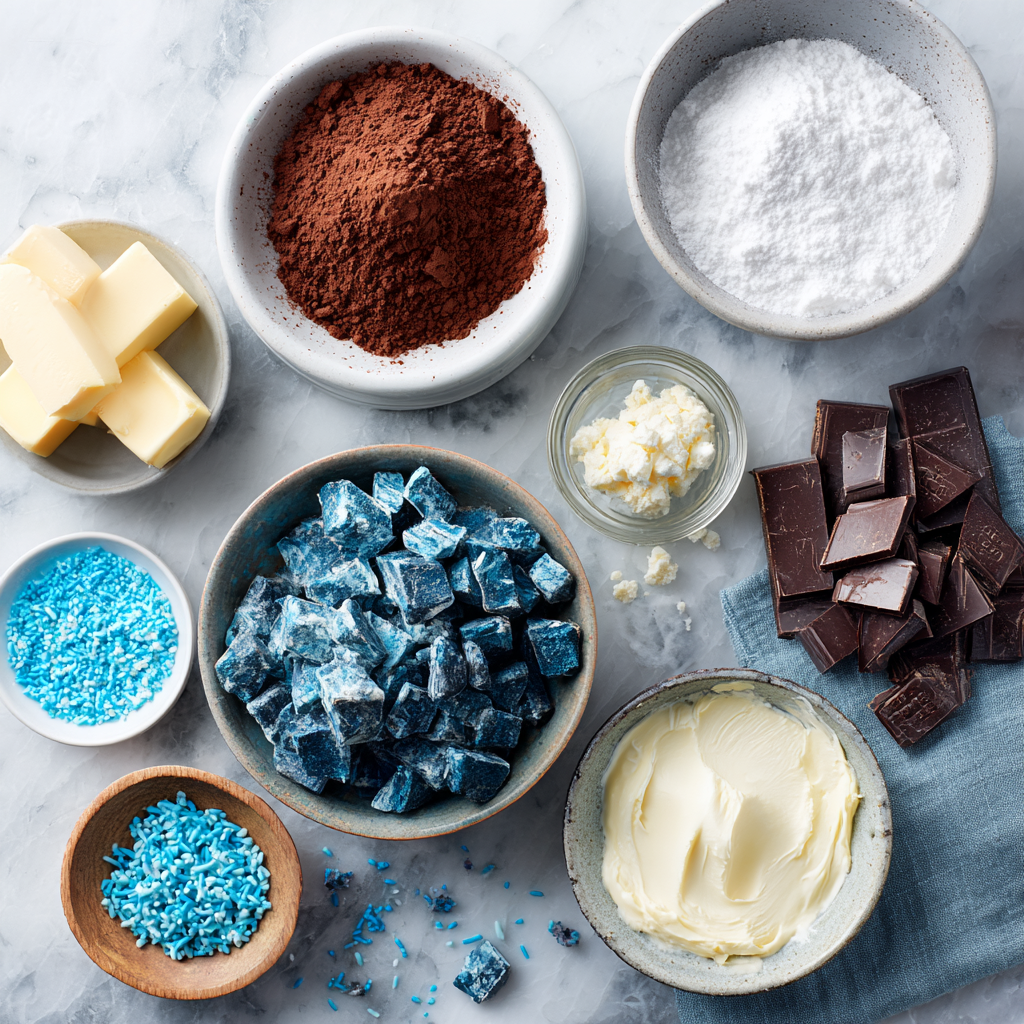
Ingredients List
To achieve the vibrant sapphire interior and the snowy exterior, precision in ingredient selection is vital.
The Blue Velvet Cake Base:
- Cake Flour (2 ½ cups):
- Science: Lower protein content than all-purpose flour ensures a tender, velvety crumb rather than a chewy one.
- Cocoa Powder (1 tbsp):
- Role: Just a hint. This provides the “velvet” flavor profile without turning the batter brown, allowing the blue dye to shine.
- Unsalted Butter (½ cup) & Vegetable Oil (½ cup):
- Why both? Butter provides flavor; oil ensures the cake remains moist even when chilled.
- Buttermilk (1 cup):
- Acidity: Breaks down gluten and activates the baking soda.
- Royal Blue Gel Food Coloring:
- Crucial: Do not use liquid drops. They add too much water and yield a pastel color. You need concentrated gel (like Americolor or Wilton) for that deep, “Elvis” blue.
The Binder:
- Cream Cheese (4 oz, softened): The glue that holds the truffle together.
- Confectioners’ Sugar (¼ cup): To stiffen the binder.
The Coating:
- White Melting Wafers (12 oz):
- Recommendation: Ghirardelli or Merkens. Real white chocolate (with cocoa butter) tastes better but requires tempering. Wafers are more stable for beginners.
- Edible Silver Leaf or Blue Sanding Sugar: For the festive finish.
Timing
These truffles require a “bake, cool, roll, chill” workflow. It is a marathon, not a sprint, but the active work is rhythmic and satisfying.
- Prep Time: 30 minutes
- Bake Time: 25 minutes
- Cooling/Chilling: 2 hours (passive)
- Dipping Time: 30 minutes
- Total Time: Approximately 3.5 hours.
- Data Insight: While this takes longer than cookies, the yield is higher. One batch produces 40–50 truffles, making it the most time-efficient recipe for bulk gifting.
Step-by-Step Instructions
Step 1: Bake the Blue Velvet Cake (H3)
Preheat your oven to 350°F (175°C). Whisk flour, cocoa, and salt. In a mixer, cream butter and sugar, then add eggs, oil, vanilla, and the blue gel coloring.
- Actionable Tip: Add the dye before the flour. It mixes more evenly into the liquid fat than into a dough. You want a color that is two shades darker than your desired final result, as baking fades it slightly.
- Bake: Pour into a greased 9×13 pan and bake for 25 minutes. Let it cool completely.
Step 2: The Destruction Phase (H3)
This is the fun part. Once the cake is cool, crumble it into fine crumbs using your hands or a food processor.
- Texture Goal: You want fine, sandy crumbs. No large chunks, or your truffles will be lumpy.
Step 3: The Binding (H3)
Mix the softened cream cheese and confectioners’ sugar until smooth. Add this into the cake crumbs.
- Technique: Use your hands to knead the frosting into the crumbs. Stop when you can pinch a ball of dough and it holds its shape without cracking.
- Warning: Do not dump all the frosting in at once. Humidity affects cake moisture. Add 3/4 of it first; add the rest only if the mixture is too dry.
Step 4: Roll and Chill (H3)
Roll the mixture into 1-inch balls (about 15g each). Place them on a parchment-lined baking sheet.
- Critical Step: Freeze the balls for 20 minutes or refrigerate for 1 hour. They must be firm before dipping, or they will disintegrate in the warm chocolate.
Step 5: The Dip and Decorate (H3)
Melt your white wafers in the microwave in 30-second intervals. Using a fork, dip a chilled truffle into the coating, tap the fork on the edge of the bowl to shake off excess, and slide onto parchment.
- Timing: Sprinkle your blue sugar or silver dust immediately. The coating sets in about 15 seconds.
Nutritional Information
Truffles are dense confections. Here is the breakdown per truffle.
- Serving Size: 1 Truffle
- Calories: ~160 kcal
- Total Fat: 9g
- Saturated Fat: 5g
- Carbohydrates: 20g
- Sugar: 16g
- Protein: 2g
- Data Insight: Compared to a slice of actual Blue Velvet cake (which averages 450 calories), a truffle satisfies the craving with 65% fewer calories, making it a smarter portion-controlled option.
Healthier Alternatives for the Recipe
Adjusting for dietary needs allows everyone to enjoy the “Blue Christmas.”
- Natural Dye Option:
- Swap: If you are averse to Red/Blue 40, use Blue Spirulina Powder or Butterfly Pea Flower Powder. Note that Butterfly Pea Flower reacts to acid (buttermilk) and may turn purple, so use regular milk if choosing this dye.
- Gluten-Free:
- Swap: Use a 1:1 Gluten-Free Flour blend for the cake. The texture change is undetectable once crumbled and mixed with cream cheese.
- Lower Sugar / Keto:
- Swap: Use almond flour for the cake base, erythritol for the sweetener, and sugar-free white chocolate chips (like Lily’s) for the coating.
Serving Suggestions
Presentation elevates these from “cake balls” to “artisan truffles.”
- The “Frozen” Platter: Arrange the truffles on a bed of shredded coconut to mimic snow.
- Cocktail Pairing: Serve alongside a Blue Curacao Martini or a Jack Frost Cocktail (coconut rum, pineapple, blue curacao). The color coordination is visually striking for parties.
- The Gift Box: Place each truffle in a mini silver foil cupcake liner inside a rigid box. This prevents them from rolling and looks professional.
Common Mistakes to Avoid
Truffle making is chemistry. Here are the common failure points.
- Using Liquid Food Coloring:
- The Pitfall: You pour in a whole bottle of liquid drops to get the color right.
- The Result: The batter becomes too wet, the cake is dense/gummy, and the truffle texture is mushy.
- The Fix: Use Gel Paste. You need a pea-sized amount for the whole cake.
- Dipping Warm Balls:
- The Pitfall: The cake balls are room temperature when dipped.
- The Result: Crumbs fall off into your white chocolate, turning your pristine white coating into a gray, lumpy mess.
- The Fix: The balls must be cold.
- Overheating the Chocolate:
- The Pitfall: Microwaving the coating for 2 minutes straight.
- The Result: The chocolate seizes and becomes thick/clumpy.
- The Fix: Low and slow. 30-second bursts, stirring in between.
Storing Tips for the Recipe
Because these contain cream cheese, they cannot live on the counter indefinitely.
- Refrigerator: Store in an airtight container for up to 1 week. They taste best chilled, as the shell snaps and the inside remains fudgy.
- Freezer: These are arguably the best freezer dessert. Freeze in a single layer, then transfer to a bag. They last 3 months. Thaw in the fridge, not on the counter, to prevent condensation (sweating) on the chocolate.
- Food Safety: Do not leave out at room temperature for more than 4 hours due to the dairy content in the binder.
Conclusion
Blue Christmas Truffles are a show-stopping addition to any holiday cookie swap. They combine the nostalgic flavor of velvet cake with a sophisticated visual appeal that stands out in a sea of red and green.
Ready to bring some “Blue Christmas” magic to your kitchen? Order your gel food coloring today and get baking! Share your blue creations with us in the reviews section below. We would love to know if you used silver leaf or sanding sugar! Subscribe for more colorful culinary experiments.
FAQs
Can I use a boxed cake mix?
Yes, absolutely. To save time, buy a White Cake Mix and add 1 tablespoon of cocoa powder and the blue gel dye. Reduce the water listed on the box by 2 tablespoons to ensure a sturdy cake for rolling.
Why is my chocolate coating cracking?
Cracks happen when the temperature difference between the cold truffle and the warm chocolate is too extreme. While we want the truffles chilled, let them sit on the counter for 5 minutes after taking them out of the fridge before dipping to lessen the shock.
What does Blue Velvet taste like?
It tastes exactly like Red Velvet, which is essentially a mild chocolate-vanilla flavor. The only difference is the color dye. It is less chocolatey than a brownie but richer than a vanilla sponge.
Can I make these ahead of time?
Yes. In fact, they are better made ahead. Making them 2 days before your party allows the flavors of the cream cheese and cake to meld perfectly. Just keep them refrigerated.